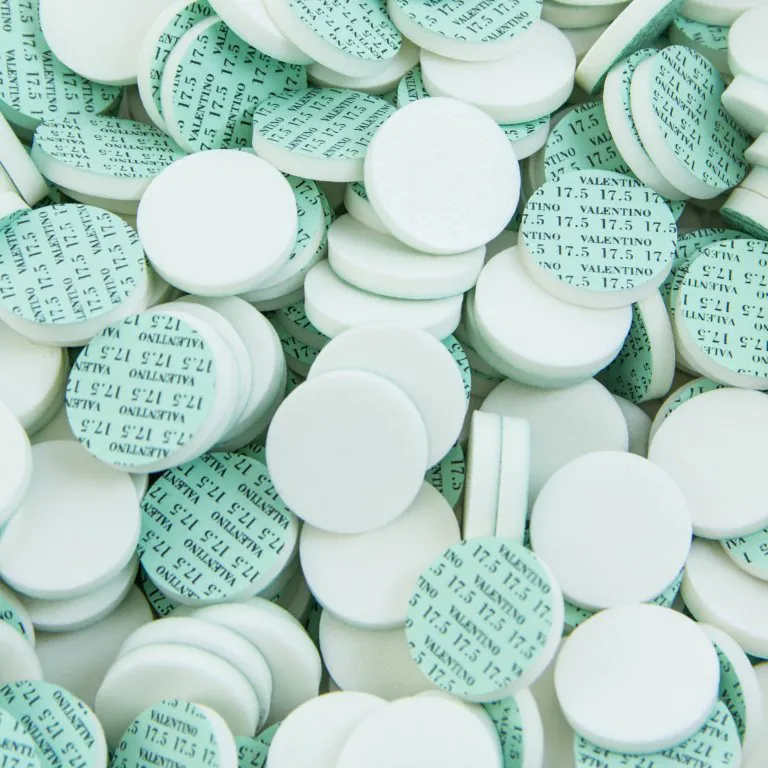
Valentino Greenback pads have a paper back that allows for application of hot adhesive while shielding the pad from heat. This paper back is bonded directly to the core material of the pad.
This pad is designed to be installed in a mostly traditional manner by the “float-in” method. In large part, a successful installation will require the technician to do less than when installing felt pads. Less heat, less pressure, less manipulation, no clamping. The instrument can be padded with more successful results than felt padding in a shorter amount of time. There should be only a short learning curve to become proficient.
Installation
We recommend that the technician apply a small mound of adhesive to the back of the pad and while the adhesive is still warm, insert the pad into the cup with a gentle twisting motion to distribute the glue evenly on the back of the pad. This is normally done off of the body, but it can also be done with keys mounted on the body. In this instance, it is probably necessary to have bumper felts and corks off of the keys (so that there is enough key height clearance to apply the pad).
After mounting the padded key(s) on the body, heat the key, then tap the key repeatedly to the tone hole with a light pressure to coax the pad into place. This will get the general seating of the pad. While the heating can be done with a small/narrow flame, it is advisable to use a resistance heating device such as the Votaw Pad Cup Heater.
The pad can be further adjusted by heating the key again and adjusting with a pad slick – including our All Purpose Pad Slick. It is important to support the entire face of the pad while “tipping” the pad for coverage. Use only light pressure when tipping the pad for coverage. Make sure that the adhesive is warm enough to manipulate.
Lastly, use a leak light to check your work. A feeler strip holder with a .0005″ feeler can be used as a supplemental tester.
Sensitivity to Heat
All Valentino pads are sensitive to overheating. The technician can install these with a burner, torch, or resistance heat device. Heating beyond the melting temperature of the adhesive is unnecessary of course, and can degrade the pad.
It is important to use an adhesive that has a reasonable softening point, and one that doesn’t shrink too much as it cools. Most hot melts shrink as they cool, pulling the pad up into the cup thereby changing coverage front to back. We offer our Amber Melt glue, which we’ve had great success with.
Amber Melt is available in the following forms:
This adhesive melts at 230°F and softens around 180°F.
Embossing the Impression (aka “Seat”)
We caution against trying to make a very deep impression. While some may try use an impression to make coverage, this will not bring perfect results. The appropriate impression can only be made after one has perfect coverage. Then, just simply press the key closed for a short while as if fingering a low D on the instrument.
Please do not use a oven to either get coverage or emboss the pad. This will only degrade the padding.
Shipping & Storage
Do not ship or store the instrument with wedges holding the keys closed. This will degrade the job and has no benefits as it may have with felt pads.