Supplies required:
105072 mucilage (glue)
227041 flute pad assembly die 16-16.5mm
227042 flute pad assembly die 17-17.5mm
227043 flute pad assembly die 18-18.5mm
403034 precut bladder skins white (20 pack)
403035 precut bladder skins yellow (20 pack)
403030 bladder-white – 4″ x 12″ sheet
403031 bladder-yellow – 4″ x 12″ sheet
Small paintbrush
Scissors
Many technicians will be called upon to service flutes that have Straubinger pads. The availability of the pads will require the tech to be able to recover pads as possible. To learn this skill does not require a huge commitment in either time or cost, but it may of great benefit to the musician, and one’s business.
Advisability:
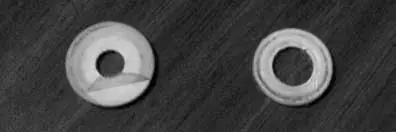 If the pad material has too deep an impression or is heavily soiled, do not re-skin it. See the pad at the right. With a deep impression, the re-skinned pad will not have the same feel to the player as the rest of the instrument’s pads. Also, the pad skin would tear sooner due to the skin not being supported by the underlying pad material. Though tempting, it is also not advisable to turn the pad material over for the same reasons.

procedure:
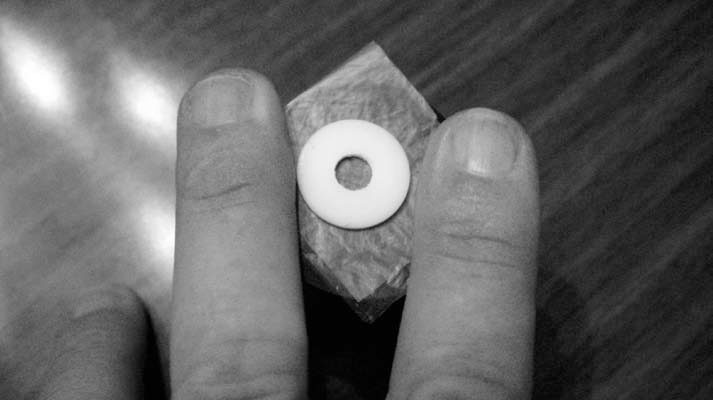
1. Remove the two layers of pad skin, taking care to preserve the paper on the back if possible. Try to remove the skin from the paper using a scraping motion with a razor blade. Don’t spend too much time on removing the skin as sometimes it will release quickly. If you cannot remove the skin or if you tear the paper, it can be replaced with a .002″ paper shim.
2. Select the correct pad assembly die. Either cut two squares of pad skin from a sheet, or use two precuts that are larger than the pad. Place the two skins over the opening of the skin die with two fingers of one hand putting light pressure on the skin outside of the hole. If the pad is a newer Straubinger pad, which is more opaque than yellow, use one layer of yellow skin next to the pad and one opaque skin on the outer.
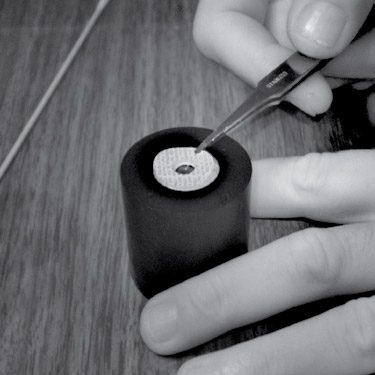
3. Push the pad and the skin into the pad die skin first.
4. Holding the pad in the pad die with one finger, cut the excess pad skin around the pad. There should be at least 1/8″ (3mm) overlap onto the back of the pad.
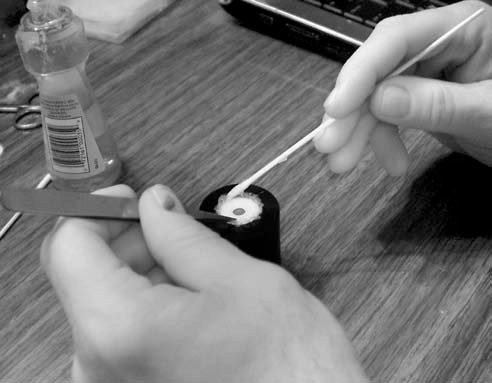
5. Holding the pad in the die; apply Mucilage glue onto the skin that is closest to the pad. A paintbrush or a tightly woven cotton swab can be used. The glue will soak thru to the other skin.
6. Press and fold the skin over onto the plastic back. The rounded end of a tweezers or a wooden cotton swab, or a small burnisher can be used. Once the skin has been folded onto the plastic back, the second layer of skin will become wet with the glue. Push or burnish the skin towards the center of the pad, smoothing out the wrinkles of the skin. The tool used to burnish the skin inward towards the center of the pad will collect some of the excess glue, which should be wiped off onto a paper towel. The burnishing action not only smoothes the skin but also helps tightens the skin on the face of the pad.
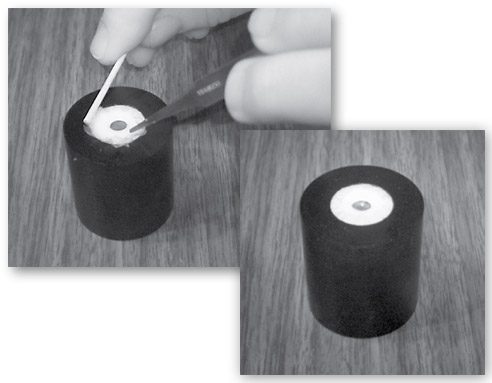
7. After the skin is smoothed of wrinkles and the glue is still wet place the paper back onto the pad. Press the paper down onto the pad.
8. Care must be taken when removing the pad, as the glue is still wet. Turn the pad die over and blow the skinned pad out. Place the pad on a flat clean surface face down, then place a small steel block on the back. This will further flatten the pad skin and paper on the backside of the pad. Let the block sit on the pad 3 to 5 minutes, then set the pad aside to completely dry. After the glue is completely set, the center hole can be punched out.
Tips:
Throughout the entire process, the pad must remain in the pad die, held securely. Otherwise the pad skin will not be tight. When applying the glue, not a great deal is needed, excess can be removed from the tool used for burnishing when working the pad skin down. When you remove the pad, leave all partial shimming in the key cup in place, sometimes the re-skinning comes out so well that little additional partial shimming is needed.
